When a blown film machine starts producing off-spec rolls, the ripple effect is immediate—packaging lines stall, converters reject material, and your customer’s trust erodes. In many extrusion shops, operators chase symptoms: they tweak the air ring, adjust the die bolts, or raise the temperature setpoint, only to watch the same defect reappear hours later. The real path to stability lies in diagnosing the root cause, not just the symptom. This guide walks through that diagnostic process and arms you with practical, expert-led actions.
Why Film Thickness Variation Happens – and a Smarter Way to Fix It
Uneven film gauge rarely comes from a single factor. Three common culprits interact: melt temperature non-uniformity, die gap misalignment, and inconsistent cooling air flow. In practice, a shift of just 2–3°C across the die body can change local output by enough to produce a hard band that wobbles the thickness profile wildly.
Start your troubleshooting at the die. Measure the film with a precise micrometer (refer to ASTM D374 for thickness testing technique) at a minimum of 10 equally spaced points across the web to map the profile. If one quadrant reads consistently thin, tighten the adjacent die bolts in 1/8-turn increments while watching the frost line. Avoid the reflex to adjust multiple bolts at once—this scrambles your feedback and prolongs the hunt.
On the temperature side, verify each barrel zone’s PID tuning. Overshooting zones cause surging melt, which translates directly into gauge variation. Data from a mid-sized converter showed that stabilizing the adaptor zone within ±1°C reduced gauge-related scrap by over 15% in two weeks.
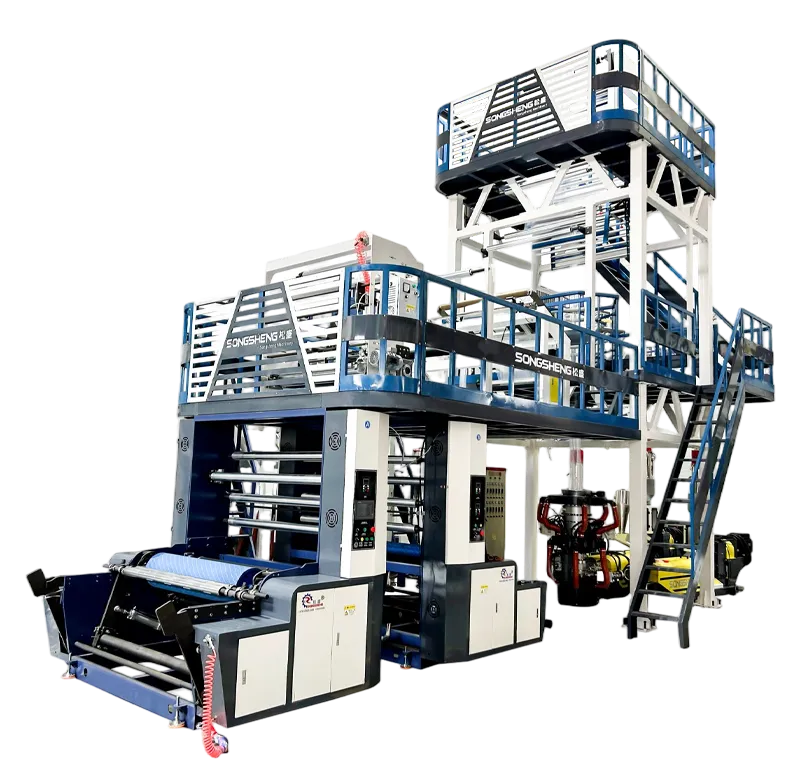
If you’ve optimized these variables and still see variations exceeding ±5% of the target thickness, the limitation may reside in the die geometry itself. Spiral mandrel dies distribute the polymer more evenly than older radial designs, especially with today’s stiffer LLDPE blends. When manual adjustments hit a ceiling, it’s worth understanding how hardware influences melt distribution. Explore advanced extrusion configurations with spiral mandrel dies.
Stabilizing the Bubble: From Wobbling to Perfect Layflat
Bubble instability shows up in several ways: the bubble sways side to side, the frost line oscillates, or the layflat width varies along the roll. Apart from obvious external drafts (an open bay door can destroy bubble stability in seconds), the most frequent offender is a dirty or improperly set air ring.
Remove the air ring lips and scrub them with a soft brass brush—hardened deposits from polymer off-gassing create micro-edges that disturb the airflow pattern. While the ring is off, inspect the internal volutes; a partial blockage can cause the air velocity to differ from one side to the other, producing a rhythmic “breathing” motion in the bubble.
If you run an internal bubble cooling (IBC) system, check the stack height and the exhaust balance. Excessive IBC exhaust can chill the inner surface too rapidly, leading to surging and even bubble tears. Use a manometer to verify that the stabilizer cage maintains a slightly positive internal pressure of the bubble. Many plants overlook the fact that even the inflation air’s temperature shift over a summer day can change the process window.
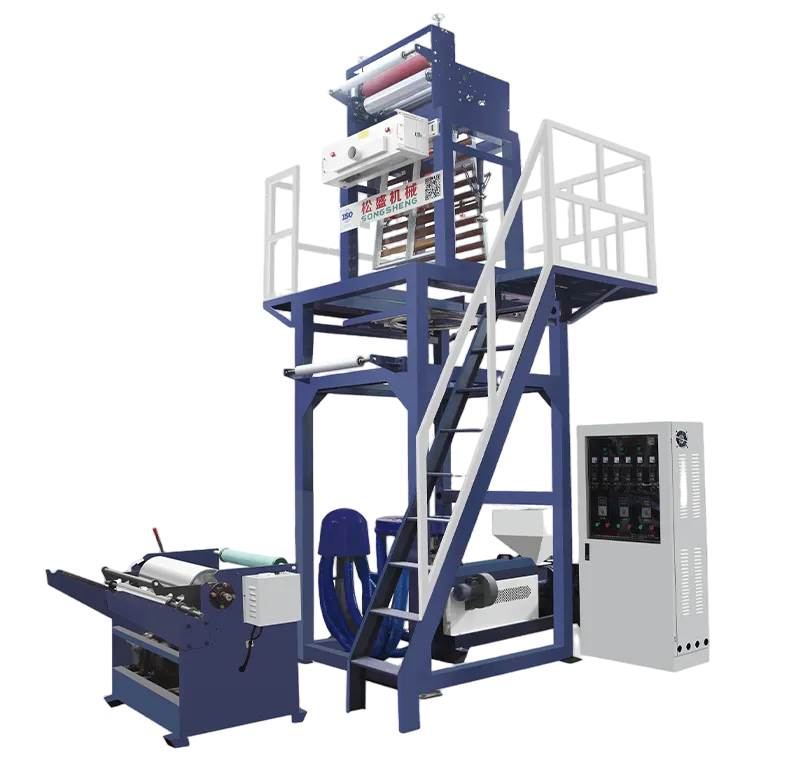
For lines where bubble instability persists after thorough cleaning and balancing, the cooling system design might be the bottleneck. Older single-lip air rings often struggle to stabilize high-stalk bubbles at elevated throughputs. See how modern cooling system architectures enhance process stability.
Dealing with Gels, Fisheyes, and Black Specks
Contamination defects—gels, fisheyes, carbonized specks—have an immediate impact on print quality and seal integrity. Their source splits between material handling and equipment hygiene. Resin fines, degraded polymer clinging to screw walls, and charred material from dead spots in the adaptor are the usual suspects.
A systematic clean-up sequence works better than adding an extra screen pack and hoping for the best. First, purge with a high-viscosity purge compound, increasing back pressure to scrub the barrel and the screw root. Second, disassemble and inspect the screen changer; deformed screen packs allow unfiltered melt to reach the die. A large flexible-packaging manufacturer slashed gel complaints by 40% simply by moving to a continuous screen changer and setting the trigger differential at 500 psi.
Pay attention to the screw cooling bore, too. Coked material in that bore can break loose unpredictably, causing intermittent specks that are maddening to trace. Clean it as part of the annual preventive shutdown, not when you’re in a production crisis.
Preventive Maintenance That Cuts Reactive Troubleshooting
A blown film machine can run for years with minimal intervention—until one neglected component cascades into a major quality meltdown. Shifting from reactive to preventive maintenance protects not only your margins but also your production team’s sanity.
Create a three-tier inspection checklist. Daily: verify the die gap, check air ring filter mesh, and log melt pressure before and after the screen. Weekly: clean the air ring lips, inspect the collapsing frame roller alignment, and measure the winder’s contact pressure. Monthly: test the heater band continuity, run a film profile trial, and re-validate the temperature controller calibrations against an independent thermocouple.
Document everything. The most reliable film lines we’ve observed keep a maintenance log that tracks even small events, like a heater band replacement or a die bolt adjustment. Trends leap out of that data months before a failure occurs.
While disciplined maintenance dramatically extends an extrusion line’s life, the control and materials integration capabilities on new systems push the baseline reliability further. If your team is spending more than 15% of shift time troubleshooting quality deviations, it may be time to look at what current-generation equipment offers in terms of automated process control and real-time monitoring. Explore a manufacturer’s range that emphasizes uptime and output consistency.
Disclaimer: This guide provides general troubleshooting advice based on industry practice. Always refer to your equipment manual and resin supplier recommendations for specific settings. Process conditions, material grades, and machine configurations vary significantly.